With the mock complete now it’s time to put the real thing together. I sprayed the sprue black so that when the parts were all put together the insides would be black already. I built the basic frame of the plane. The main sides are curved when attached to the top part so I had to cello tape them together to allow it to keep its shape while working on it. I separated and shaped the helicopter rear propellers to slot just behind the wings. There was just enough room for the pieces to fit, though it cut very close on one side of the propeller so it seems I got lucky!
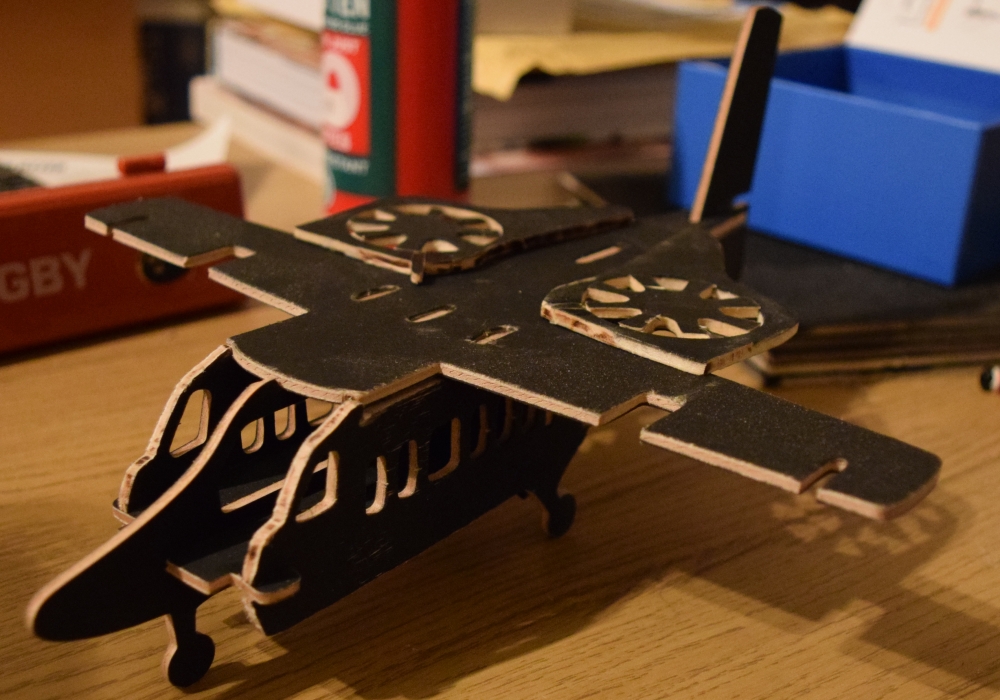
Putting the first pieces together.
Once I had confirmed the general shape, I began working on additional pieces and deciding where to place them. I created two thruster type sections on the tail wing, and another under each wing where it joins the body. I also added some ‘plating’ to make it looks more bulky and military, particularly to remove the original flat top. I didn’t glue anything at this point, instead using the existing slots and double sided sticky tape to hold it all together to see how it looked.
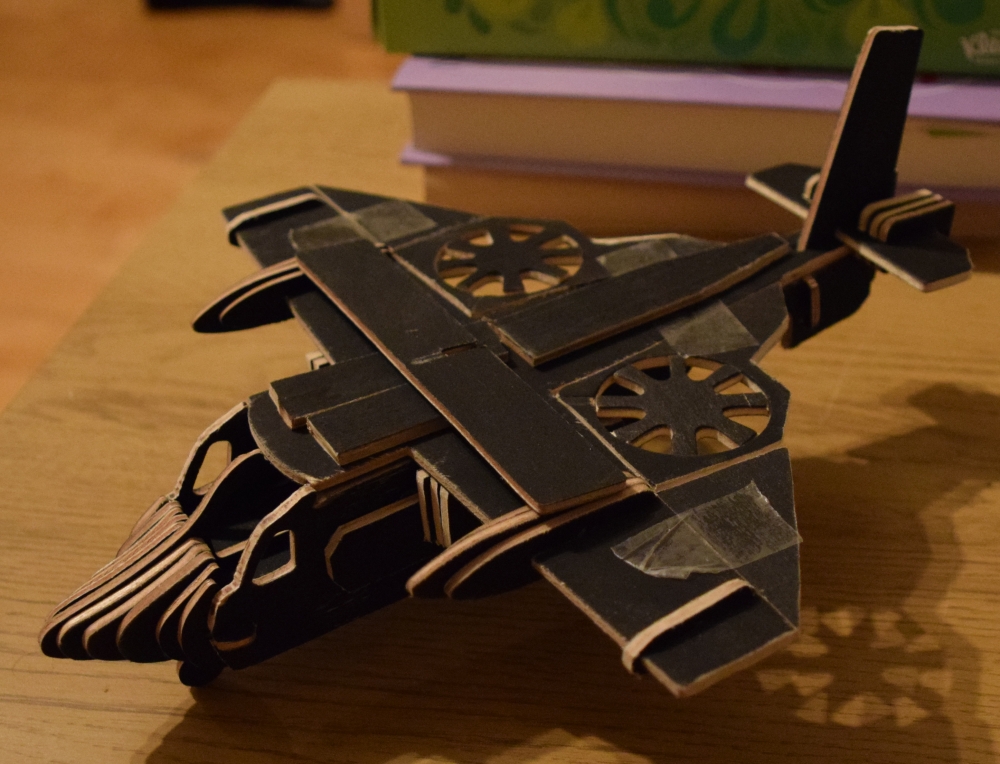
Now with extra parts.
When I was happy with all the parts, I shaped them properly with my very versatile Dremel tool to exactly how I wanted them and glued them all together. I then did some final finishing with the Dremel to tidy everything up, particularly blunting the nose which previous looked quite comical and sharpening all the previously round edges of the plane. I also completely removed the back half of the body to make a clearer exit ramp, I’ll show this in a later picture.
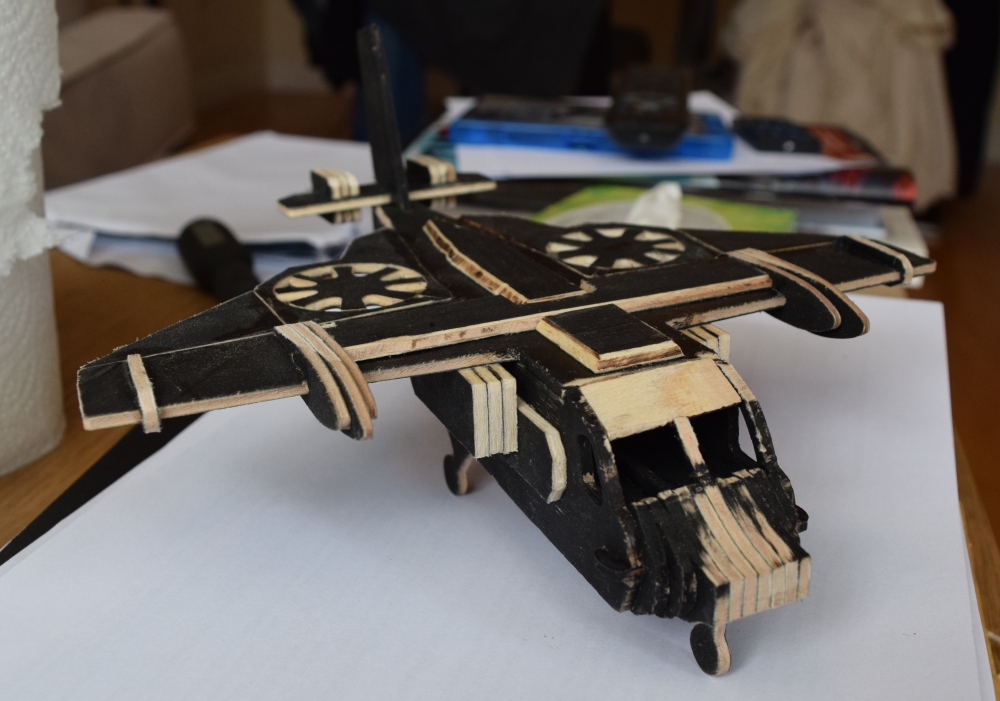
After a first pass of sanding.
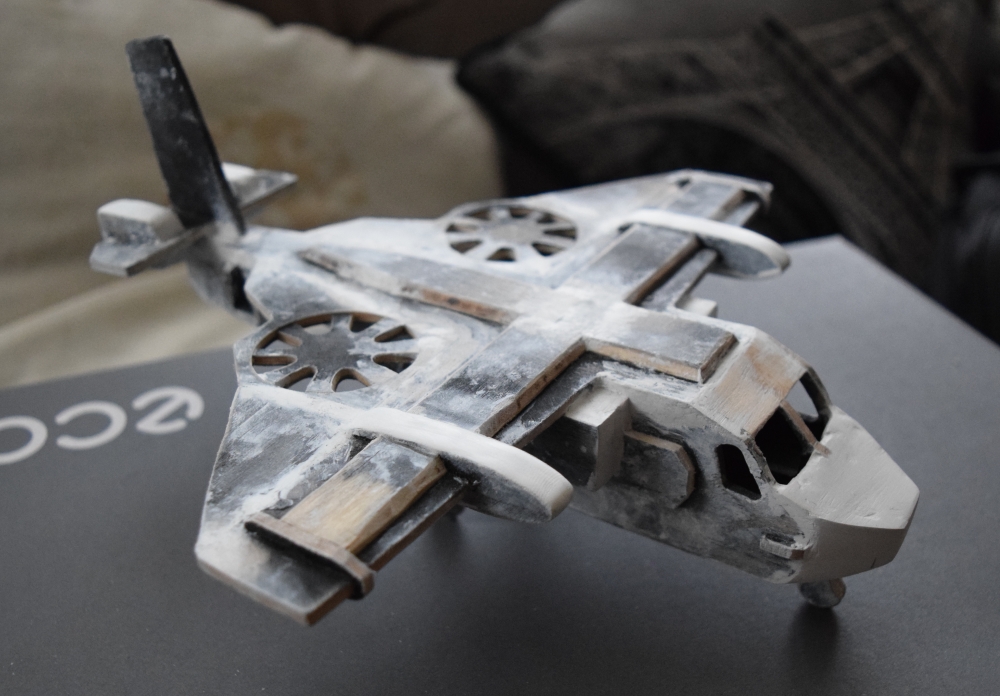
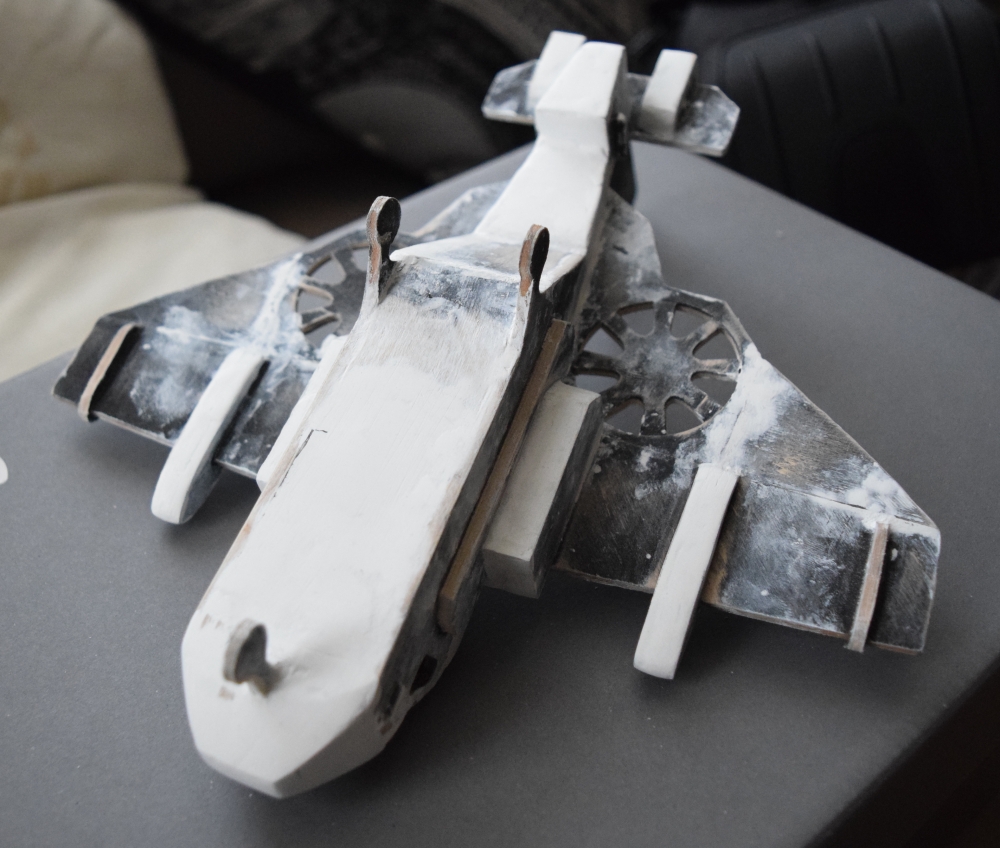
The final step was to fill all the holes and smooth out all the sections with apoxie modeling sculpt, which I picked up after a lot of research. This stuff is great, it is very easy to shape and when hardened is easy to sand. I focused on the nose to make it more miltary-esque and filled in the large hole at the back to make the exit ramp. Now things are really taking shape. Just need to figure out a paint scheme and apply it!

Looking ready to paint!
Here you can see where the exit ramp will be.